

19 January 2026 10:09
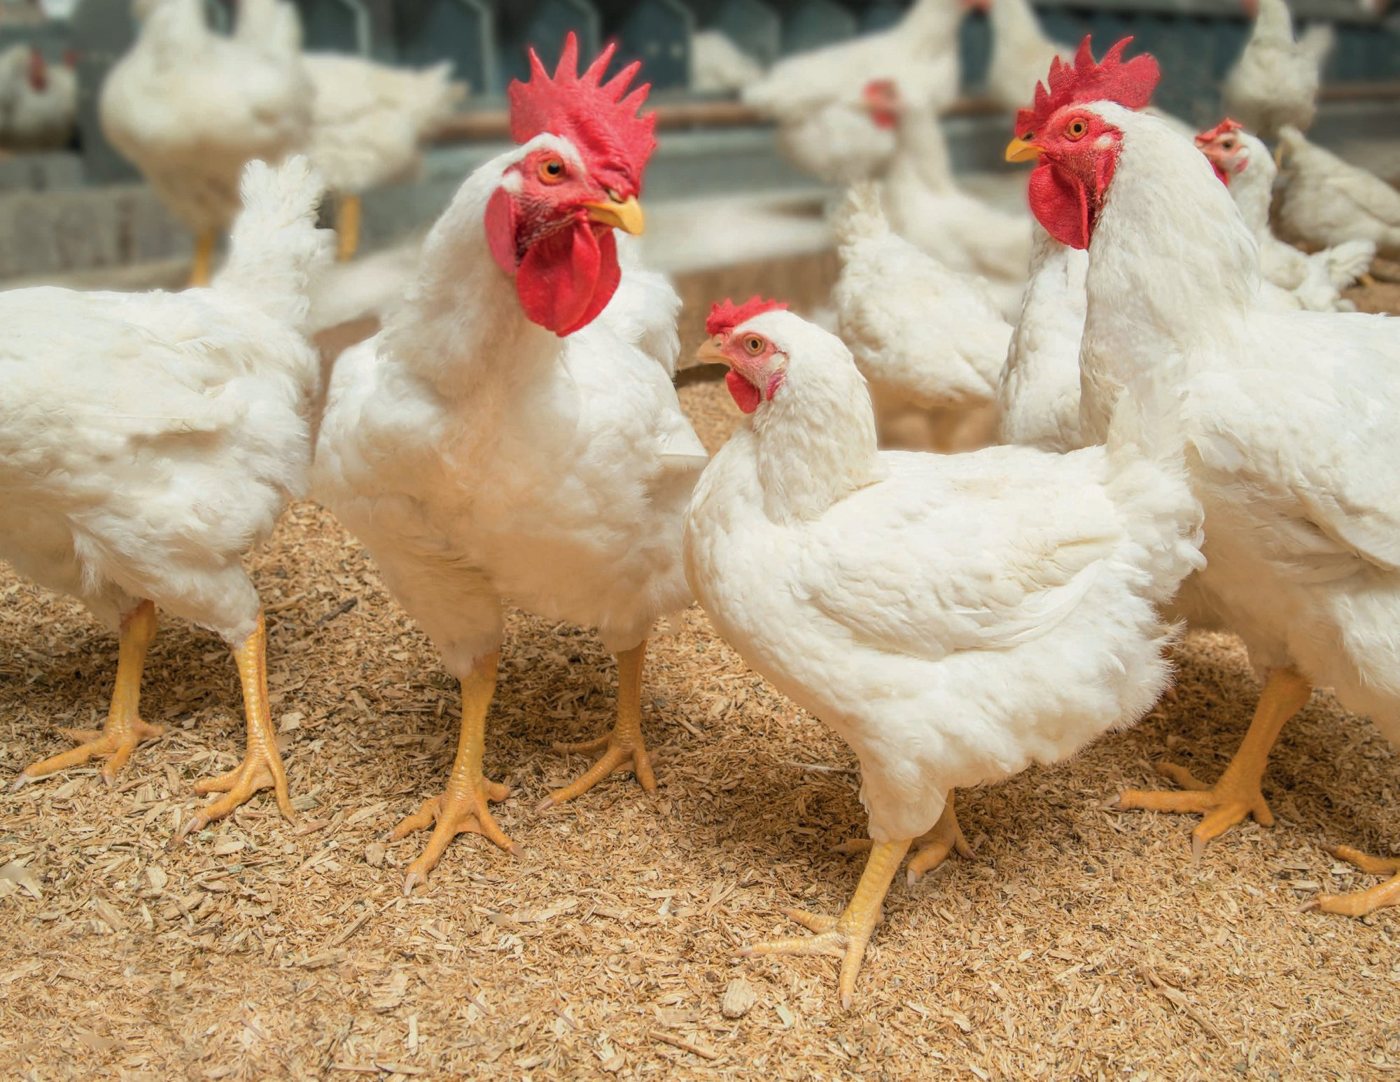
Cobb broiler breeder female, 2025
Use these recommendations as a guide and adapt them to local conditions and legal requirements.
Before flock placement
- Spread 30 g of feed per bird on paper covering 50% of the floor area, or provide 1 additional tray per 75 birds (see Table 1 for feeder space).
- Water temperature at placement: < 25 °C (ideally 10–14 °C).
- Provide 1 additional vacuum drinker per 100 birds (remove after 48 hours).
- Provide 1 nipple per 8–10 birds (20 cm spacing) or 1 bell drinker per 75 birds.
- Heating capacity: 0.075 kW/m3.
- Light intensity: variation throughout the poultry house must not exceed 20%.
- Follow the Cobb feeding program to achieve the correct body condition for each age (see Table 6).
- Beak treatment during the first 4–5 days may interfere with pecking (observe local requirements).
Phase 1: brooding (up to 4 weeks)
- Cloacal temperature on day 1: 40.0–40.6 °C. Do not exceed 41 °C during the first 4 days.
- Relative humidity: 50–70% during the first week.
- Lighting program: 23 hours of light + 1 hour of darkness; gradually reduce the light period to 8 hours by day 14.
- Illuminance: at least 25 lux; reduce to 2–4 lux (LED) by day 14.
- Litter depth: 3–5 cm in summer and 5–7 cm in winter.
- Air temperature at placement: 30–32 °C; litter temperature: 28–30 °C; reduce the air temperature to 29 °C by day 8.
- Maintain target weight gain through controlled feeding until day 7; start at 28–30 g/day on day 8.
- Flush drinking lines 3 times a day during the first week if the water temperature is > 25 °C.
- Nipple flow rate: 25–30 ml/min until day 7, then increase to 60 ml/min by week 5.
- Achieve target body weights at 7 and 14 days to support organ, skeletal and immune development (see Table 6 for starter feed).
- The first flock assessment is recommended 7 days after placement.
- Grade birds into 3 weight groups (light/medium/heavy) at 4–5 weeks to improve uniformity.
- Target body weight at 4 weeks: 520 g; it is undesirable for more than 5% of the flock to be overweight.
Phases 2–5 (rearing through the pre-lay period)
Phase 2: rearing (4–8 weeks)
- Prepare young birds for the production house: provide slats or platforms beneath drinkers from week 6; A-frame structures may be used in manually operated houses.
- From 5 weeks of age, increase feed by 2–3 g, depending on body weight.
Phase 3: maintenance (8–12 weeks)
- Monitor body weight and uniformity against the standards.
- Carry out additional grading at 8–12 weeks if necessary.
Phase 4: controlled growth (12–16 weeks)
- From 12 weeks, monitor birds to ensure good body condition.
- Fleshing should progress from score 2 to score 3 (see Table 2).
- Keep live weight within ±2% of the standard until 14–15 weeks.
- From week 14, increase feed in preparation for photostimulation (see Table 3).
Phase 5: accelerated growth (16–20 weeks)
- Use “pre-lay” feed from 16 weeks until egg production reaches 5%.
- To achieve a live-weight gain of 34–38%, increase the feed increment by 38–42% (see Table 3).
Phase 6, transfer, photostimulation and the feeding program
Phase 6: preparation for photostimulation (20–24 weeks)
- Target live weight at 20 weeks: 2,380 g; an upward deviation of up to +3% is acceptable (up to 2,450 g).
- At 21 weeks: fleshing score 3–4; > 85% of hens should have fat deposits on the pubic bones (see Table 2).
- Target uniformity at photostimulation: > 80%.
Flock transfer (20–22 weeks)
- Transfer females at 140–147 days in blackout houses and at 147–154 days in open houses.
- Minimum temperature during production: 21–22 °C.
- Male transfer ratio: 9–10% in blackout houses and 10% in open houses.
- After transfer, check crops for water and feed.
- Provide 20% additional feed during the first 2 days after transfer.
- Illuminance during the first week after transfer: up to 5 lux (maximum).
- Females are receptive to males, helping synchronize sexual maturity.
Photostimulation
- Apply photostimulation at 21 weeks, provided 100% of birds have fleshing scores of #3/#4 and > 85% of hens have fat deposits.
- Increase day length by 4 hours when uniformity is > 70%, and by 3 hours when uniformity is < 70%.
- Light intensity: 50–100 lux in blackout houses and > 50 lux in open houses.
- Maximum day length: 14 hours in blackout houses and 16 hours in open houses.
Feeding program during production
- Distribute feed along the trough or pan feeding line within 3 minutes.
- The first eggs are expected 12–14 days after photostimulation. Production then rises rapidly to its peak.
- Provide the peak feed allowance at 55% daily egg production (see Table 5).
- Daily energy intake at peak production: pellets/crumbles, 475–485 kcal; mash, 485–495 kcal (166–173 g at a metabolizable energy level of 2860 kcal).
- Daily protein intake at peak production: 23–24 g.
- To avoid disrupting egg laying, begin feeding either 1 hour or 7 hours after lights come on. Distribute feed with the lights off.
- Scatter feeding in the litter during the afternoon increases activity: 0.5 g/bird/day.
- Time to empty the feeding line: 2.5–3 hours for mash or 1.5–2 hours for crumbles/pellets.
- Reduce feed by 3–5% from peak production to 60 weeks of age.
Table 1. Feeder space for hens
| Age (weeks) | Chain feeder (cm) | Birds per pan |
|---|---|---|
| 0–4 | 5 | 20–25 |
| 5–8 | 9 | 16–18 |
| 9–12 | 13 | 14–16 |
| 13–21 | 15 | 10–12 |